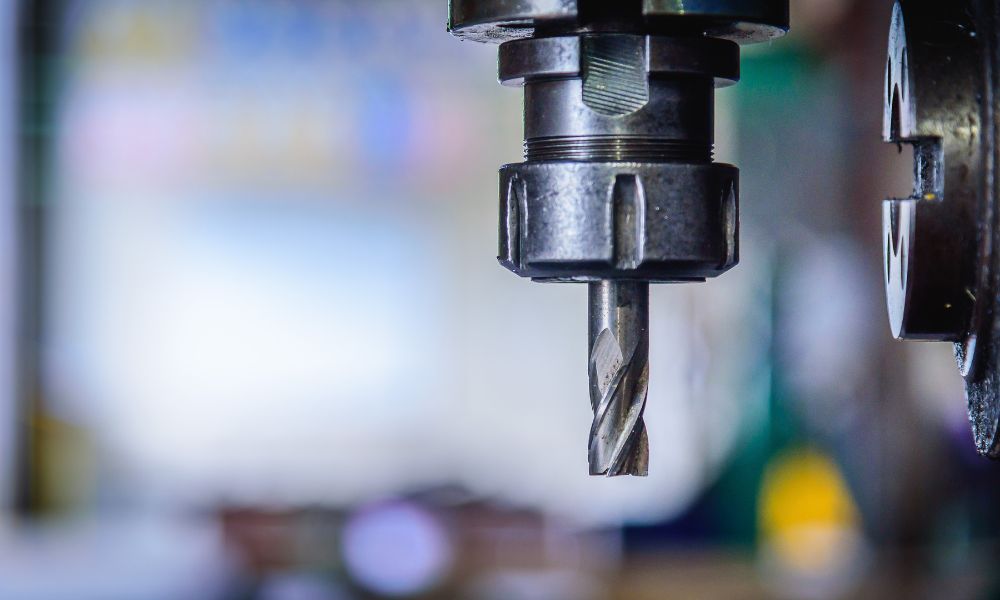
Optimal operation of any machine shop begins with taking care of its machinery. Hard-working tools—such as drills, mills, and lathes—experience wear and tear that demands consistent maintenance. Drill presses are particularly susceptible to rust, inconsistent tension, and dullness. Taking the necessary precautions and following a well-defined routine for routine maintenance may help keep issues to a minimum, as this quick checklist for proper drill press maintenance will demonstrate.
The Drive Belt
Any imbalance and inconsistency in the drive belt should be noticeable after a thorough visual check. Signs of a broken belt include excessive vibration or a lack of precision.
You may see black dust when you lift the pulley cover after turning the vertical drill off. That is simply rubber that the drive belt has left behind. You cannot measure the belt’s wear by looking at how much rubber dust is there, but you can touch the belt itself to see if there’s a noticeable change in its thickness.
Proper Lubrication
For many machines, rigidity can be detrimental to performance. However, applying the appropriate amount of lubrication can ensure a vertical drill’s optimal function.
The frequency of lubrication depends on the drill’s usage and manufacturer, but you should know that it is essential. By not regularly lubricating your drill press, the heavy friction of a drill’s operation can cause vital components to deteriorate. As a failsafe, keep your owner’s handbook or manual on hand for clear directions for greasing these parts. Lastly, always give the machine a thorough cleaning after each usage. Doing so will remove any materials left over that can cause future problems.
Checking the Power Source
Everything could be working well one day, and then the next day, the machine won’t even turn on. It may be as simple as examining the power supply rather than taking the machine apart to find the culprit.
Use a multimeter to determine the quality of the drill’s electrical wiring. One beep signifies that everything is okay, silence implies a loose connection, and a double beeping noise could indicate a missing power cable.
Inspecting the Quill
Over time, your drill’s quill can begin to move in ways you don’t want it to. We can break these down into two types: radial play, where the quill moves from side to side, and axial play, where it moves up and down on its axis.
Take the quill apart and give it a thorough examination. Be careful to remove anything that has to do with the slicing process. Make two holes in the center of the housing and then install an adjustment bolt to maintain a steady force on the drill chuck.
With the proper training and effort, you’ll be able to solve any quill crisis so that the vertical drill runs smoothly.
Cleaning the Table
Unfortunately, a vertical drill press table can become a haven for scraps and debris. Clutter can cause a lot of problems, so it’s imperative to maintain a clean and safe environment for work. This will reduce the potential for worker injuries and inadvertent damage to equipment and supplies.
Adhering to a quick checklist for proper drill press maintenance can make a difference in the staying power and execution of a vertical drill. Kaka Industrial has a handful of vertical drill presses available, with all five being great additions to your shop!

